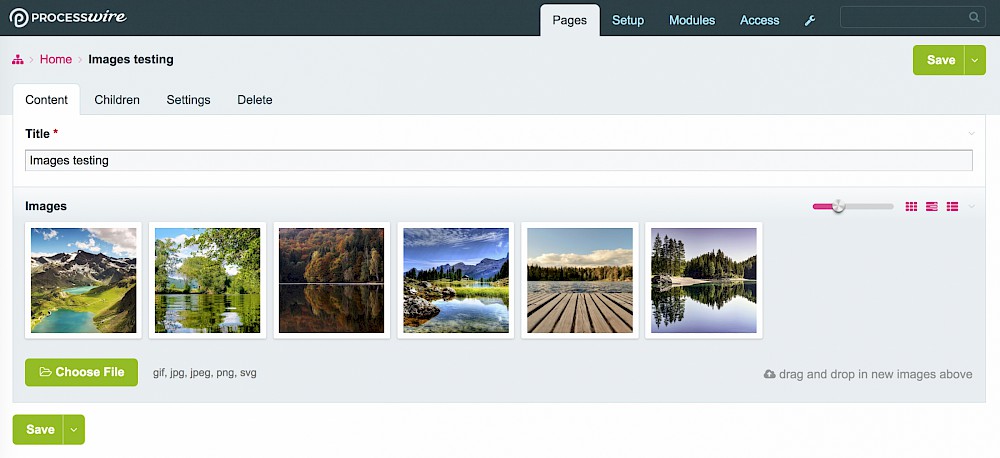
For this part of the tutorial, I created a template called 'image-testing', added the 'images' field from the previous section (with maximum files allowed set to 0). Then created a page called 'Images testing' under home using the 'image-testing' template.
Check out templates and how to create them and using templates to create pages if you need a refresher.

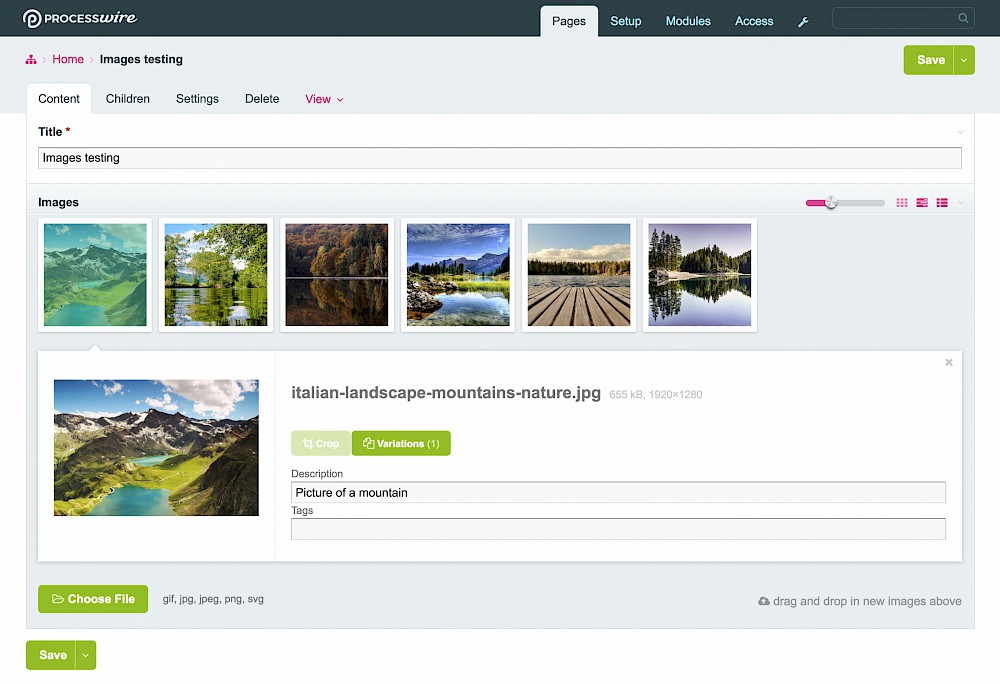
Clicking on an image allows you to add a description. You can also change the layout using the three buttons to the right (next to the slider). The default options are on the field input tab from the previous page called 'Default image grid mode'.

Create a template file which will be used to render the page.
<!DOCTYPE html>
<html lang="en">
<head>
  <meta charset="UTF-8">
  <title><?php echo $page->title; ?></title>
</head>
<body>

<?php
  // https://processwire.com/api/arrays/
  // check if the array of images has items
  if (count($page->images)):

    // get array of images from the field
    $images = $page->images;

    // iterate over each one
    foreach ($images as $image):
?>

<img src="<?php echo $image->url; ?>" alt="<?php echo $image->description; ?>">

<?php
  endforeach;
  endif;
?>

</body>
</html>
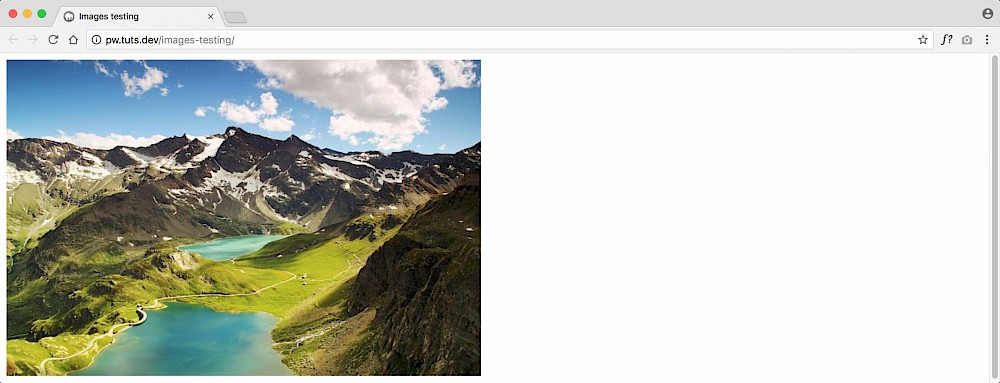
And that's it! All your images will be rendered at the maximum width of 2500px which we set in the field 'input' tab on the previous page. If you set no mximum width then the images will be the same as the uploaded image size.
Notice how '$page->images' returns an array of images. On a single image field (max uploads = 1) this would return a single item (but not an array with one item).
You can create images on the fly which will save a 'variation' on the server. Let's change the size of them.
<?php
  // https://processwire.com/api/arrays/
  // check if the array of images has items
  if (count($page->images)):

    // get array of images from the field
    $images = $page->images;

    // iterate over each one
    foreach ($images as $image):

      // https://processwire.com/api/fieldtypes/images/
      // set some default image options
      $options = array('quality' => 80, 'cropping' => 'center');

      // create a new image on the fly 200px width x 200px height
      $thumbnail = $image->size(200, 200, $options);
?>

<img src="<?php echo $thumbnail->url; ?>" alt="<?php echo $thumbnail->description; ?>">

<?php
  endforeach;
  endif;
?>
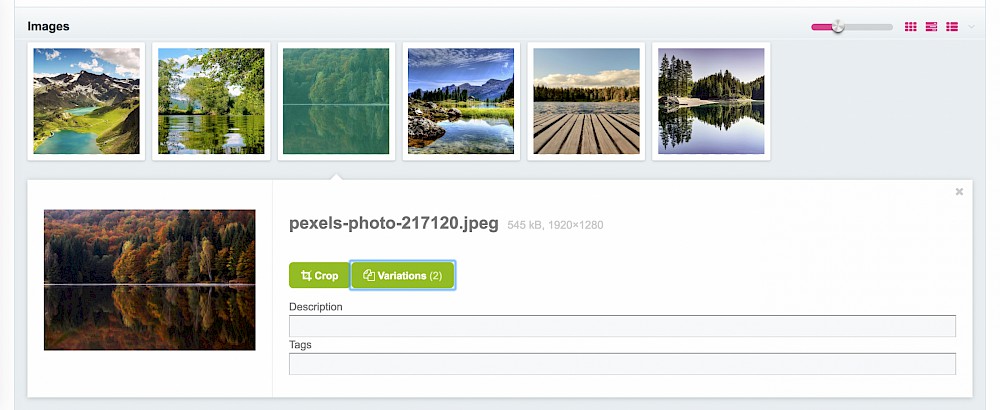
If you go back to the page edit and click on an image, you'll see the 'Variations' button.

Select that and you'll see the variation in the modal window with '.200x200' appended to the filename.
The '.0x260' image is auto generated which is the one you see in the page edit screen. All the resizing methods are available to see on the official docs page here.

You can get just the first image from the array.
<?php
  // https://processwire.com/api/arrays/
  // check if the array of images has items
  if (count($page->images)):

    // get first image only from the field
    $image = $page->images->first();

    // https://processwire.com/api/fieldtypes/images/
    // set some default image options
    $options = array('quality' => 80, 'cropping' => 'center');

    // create a new image on the fly 400px height
    $firstImage = $image->height(400, $options);
  }
?>

<img src="<?php echo $firstImage->url; ?>" alt="<?php echo $firstImage->description; ?>">
If you've set the maximum uploads to 1, then it's more simple. You just need to check if a single image exists, then output it. For a single image upload field called 'featuredImage':
<?php
  // if the page has a featured image
  if ($page->featuredImage):

  // https://processwire.com/api/fieldtypes/images/
  // set some default image options
  $options = array('quality' => 80, 'cropping' => 'center');

  // create a new image on the fly 800px x 400px
  $img = $page->featuredImage->size(800, 400, $options);

  // get the url to the image
  $imgUrl = $img->url;

  // get the description field
  $imgDesc = $img->description;
?>

<img src="<?php echo $imgUrl; ?>" alt="<?php echo $imgDesc; ?>">

<?php endif; ?>
You can also do other things with images, render a random one from a multiple images field, add tags etc. Be sure to check out the official docs page for more.